The Web Admin is a multi-user application that allows you to grant different privileges and levels of access to DocMinder® user(s) and group(s).
The Web Admin is accessible from your DocMinder® Homepage; from your Homepage, click on your profile and select Web Admin.
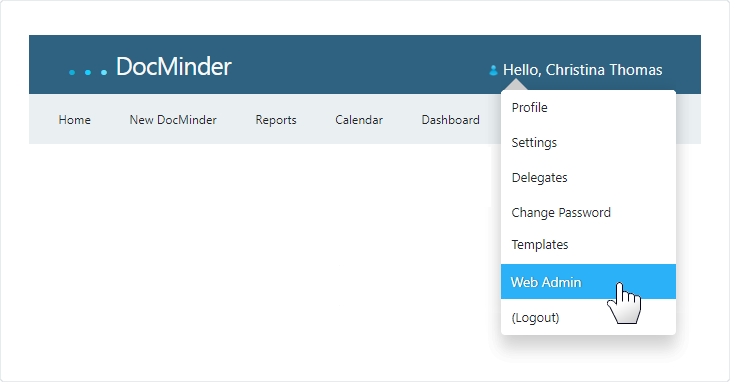
In order to access the Web Admin you must have Web Admin rights enabled.
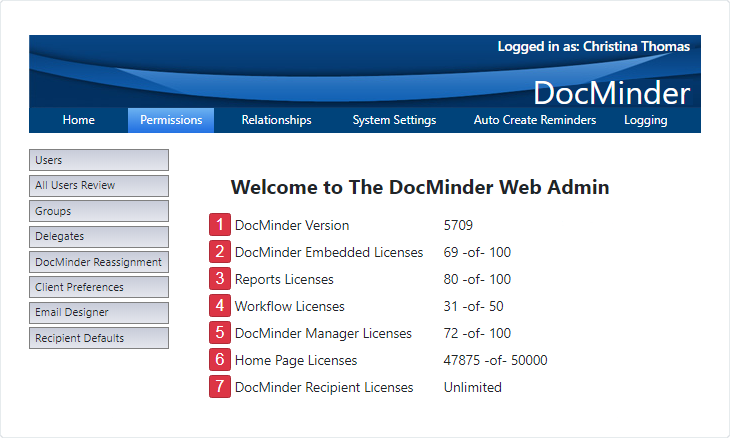
The Welcome and Licensing Page displays your licensed DocMinder® products along with the number of licenses in-use and the total number of licenses purchased.
| 1 |
Version: Indicates the version of DocMinder® currently installed. |
|---|---|
| 2 |
Embedded: Access to DocMinder Embedded from Outlook. |
| 3 |
Reports: Access to reporting from the application. |
| 4 |
Workflow: Licensed users can access; create; assign; and monitor workflow. |
| 5 |
Manager: Licensed users can create; assign; and monitor projects/tasks. |
| 6 |
Homepage: Access to their current task list from the WebClient. |
| 7 |
Recipient: Users can receive and complete projects/tasks and view Homepage. |
Recipient Licensing is allocated by the server, not at the user level.
As a DocMinder® Web Admin, the Users page allows you to manage individual(s), group(s) and permission sets.
To access; click on Users from the Left-Navigation Bar.
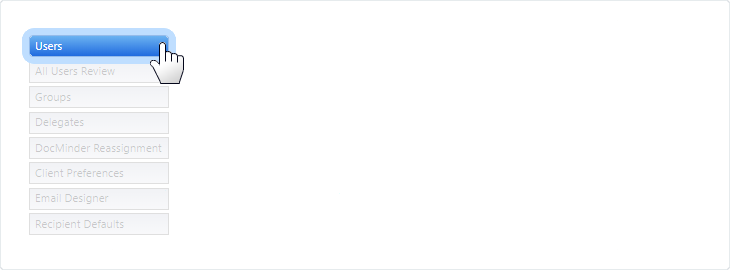
The Users page is where you add and edit users, modify permissions and more.
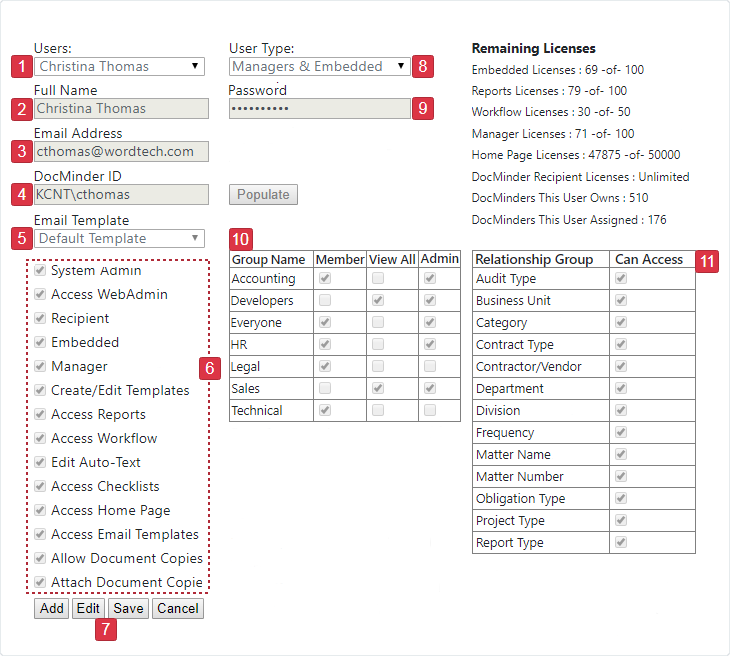
| 1 |
Select a User from the dropdown list. |
|---|---|
| 2 |
Displays the selected User's Full Name. |
| 3 |
Displays the selected User's Email Address. |
| 4 |
Displays the selected User's ID. Click Populate to auto-fill User ID. |
| 5 |
Displays the selected User's Email Tempalate. |
| 6 |
Displays the selected User's Access Permissions; if checked, User has Access. |
| 7 |
Add; Edit; Save; and Cancel buttons. |
| 8 |
Displays the selected User's Type |
| 9 |
Displays the selected User's Password. |
| 10 |
Displays Groups the selected User is a member of. |
| 11 |
Displays the selected User's Relationships; if checked, User has Access. |
In DocMinder®, each user is uniquely identified with a username, password, and profile. Together with permissions, the profile determines what a user can do, what data the user can see, and what the user can do with the data.
There are two methods available to add Users.
With the Web Admin;
Create and assign a New DocMinder®;
To add new users through the Web Admin, follow the steps outlined below.
-
Click the Add button;

-
Enter the new user's Full Name into the textbox provided;

-
Enter the new user's Email Address into the textbox provided;

-
Optional: If using Active Directory; click Populate to auto-fill the DocMinder® ID.

-
Optional: Select an Email Template from the dropdown;

-
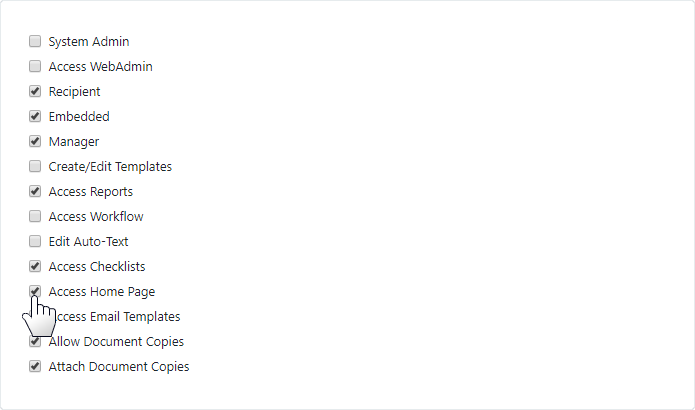
Check the necessary Access Permissions checkboxes;
-
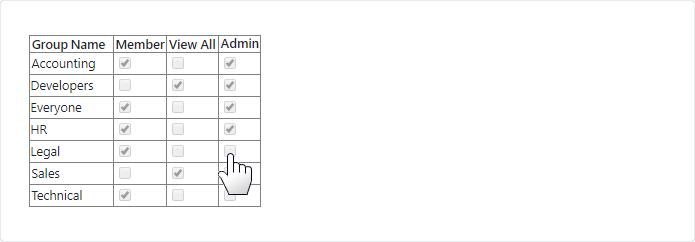
Check the necessary Group and Group Rights (e.g., View All, Admin) checkboxes;
-
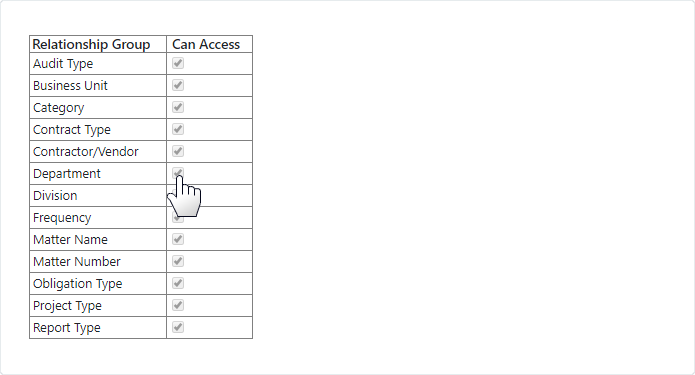
Select the Relationships the new user should have access to;
-
Click Save when finished.

To add new users with a New DocMinder®, follow the steps outlined below.
-
From the Top-Navigation bar; click on New DocMinder®.

-
Select New Blank DocMinder® from the
Left; then click on Create Project.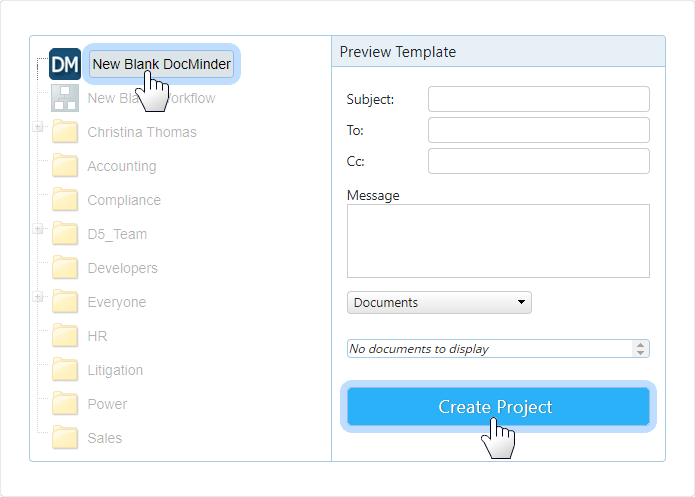
-
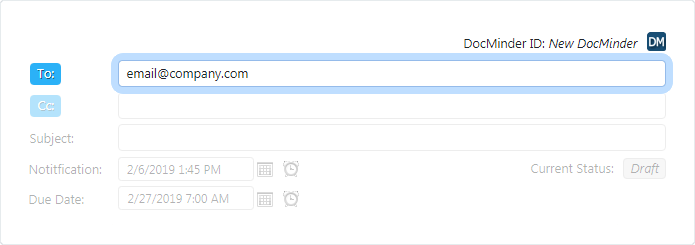
Type in the Users's Email Address in the To: line textbox;
-
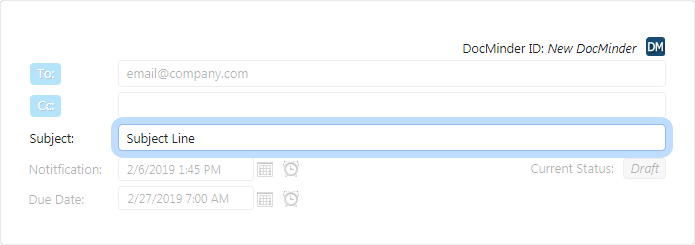
Add a Subject line for the New DocMinder®;
-
Enter a Message/Body (e.g., description); and click Activate.
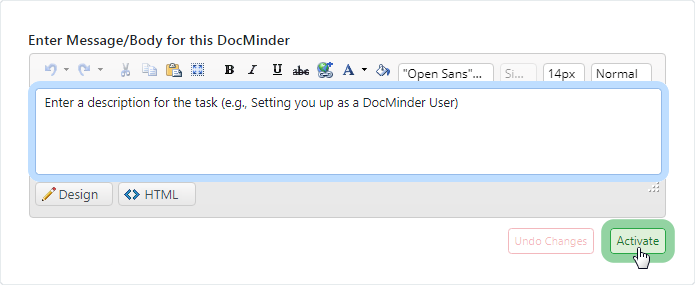
The User is added to the system as a Recipient.
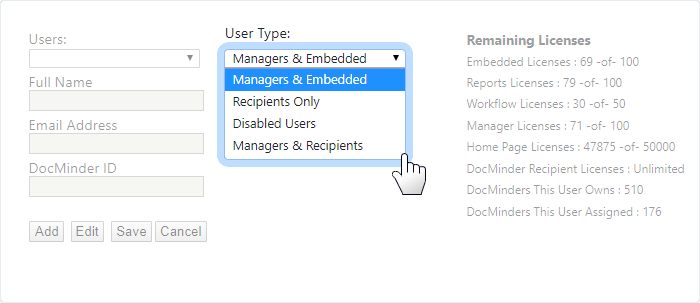
From the Web Admin you can modify (e.g., Edit) the User's information by selecting Recipient Only from the User Type dropdown.
As a DocMinder® Web Admin, it is important to edit your users' information. You have the ability to change information such as user type, access permissions, or setting the groups they’re members of.
To Edit Users; follow the steps outlined below.
-
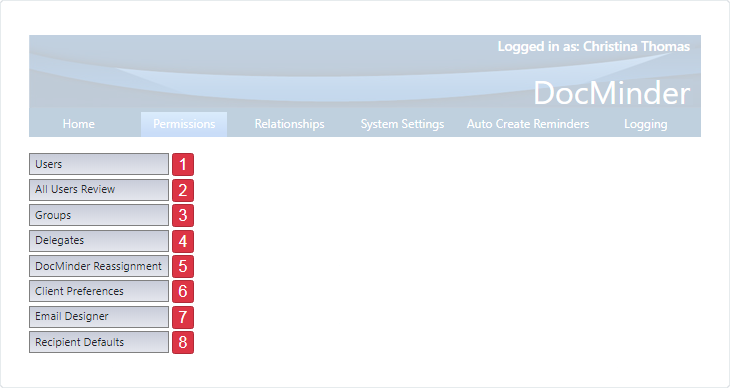
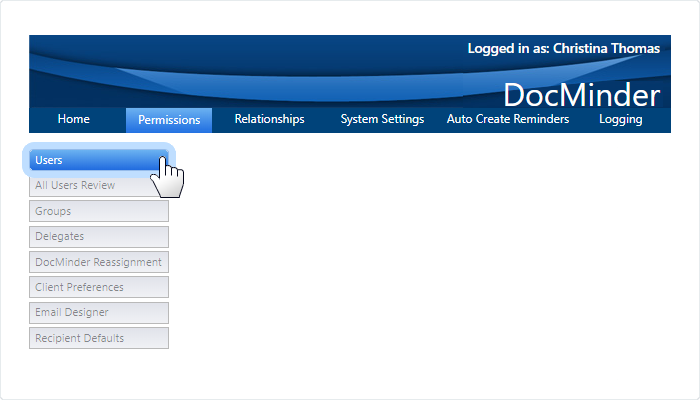
Click on Permissions from the top-navigation bar, then click Users from the left;
-
Select the type of user from the User Type dropdown;
-
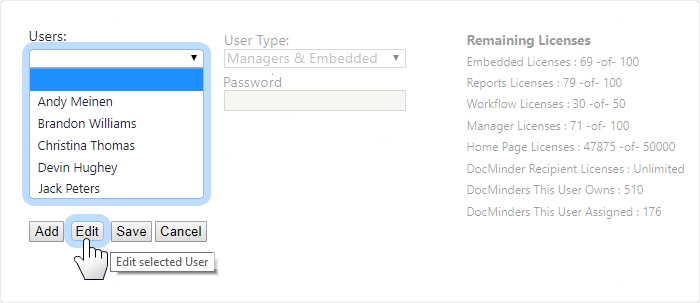
Select a user from the Users dropdown; then, click on the Edit.
To edit Access Permissions you will follow the Edit Users steps above (e.g., 1 through 4 above) and continue with the steps outlined below.
-
To Enable (e.g., turn on); check the appropriate checkbox.
-
To Disable (e.g., turn off); uncheck the appropriate checkbox.
-
Click Save to keep your changes.
| Access Permission | Description |
|---|---|
| System Admin |
Access to view/edit configuration information in the Web Admin. |
| Access Web Admin |
Access to view/edit Users information in the Web Admin |
| Recipient |
Receive and complete DocMinder® tasks, projects, workflows, etc. |
| Embedded |
Recipient functionality with access to Embedded from MS-Outlook. |
| Manager |
Create/manage projects, workflows, reports and calendars. |
| Create/Edit Templates |
Create and edit project/task and workflow templates. |
| Access Reports |
Access and build reporting template views. |
| Access Workflow |
Acess and create Workflows. |
| Edit Auto-Text |
Change Auto-Text (e.g., blocks of pre-formatted text). |
| Access Checklists |
Access and create checklists for projects/tasks and workflows. |
| Access Home Page |
Access their personal Homepage. |
| Access Email Templates |
Access DocMinder® notification templates. |
| Allow Document Copies |
Ability to attach copies of documents to projects/tasks and workflows. |
| Attach Document Copies |
Attach copies of documents to projects/tasks and workflows. |
To edit User Type you will follow the Edit Users steps above (e.g., 1 through 4 above) and continue with the steps outlined below.
See the table below for more information on User Types.

| User Type | Description |
|---|---|
| Manager |
The Manager is a Power-User who has Embedded and Recipient type functionality; can create and manage projects, workflows, templates, create reports and build calendars views from both desktop and WebClient with complete Workflow functionality. |
| Embedded |
The Embedded user is granted Recipient type functionality with access to DocMinder® Embedded from Microsoft Outlook. Embedded users can create projects and view the Embedded calendar and reporting. |
| Recipient |
The Recipient user receives projects via email, can collaborate and complete their assigned tasks along with access to view their Homepage (e.g., to do list). |
| Disabled |
A Disabled user cannot access the desktop or WebClient application. |
How to Change User Type:
-
Check / Uncheck Manager; Recipient; Embedded access permission checkbox.
Click Save.
Changing a user type to Manager; Recipient or Embedded may require an additional Product License.
To edit a user's Group and Membership you will follow the Edit Users steps above (e.g., 1 through 4 above) and continue with the steps outlined below.
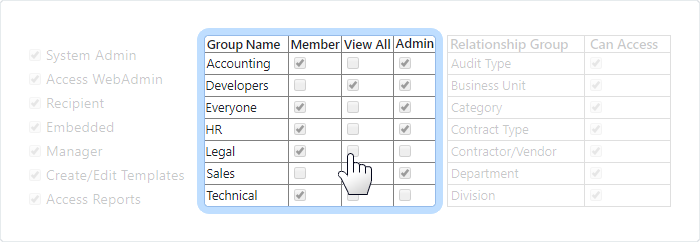
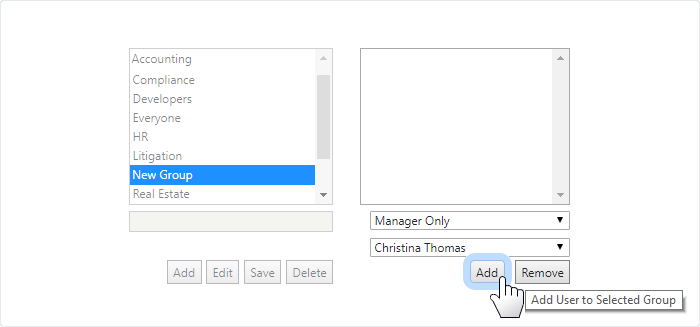
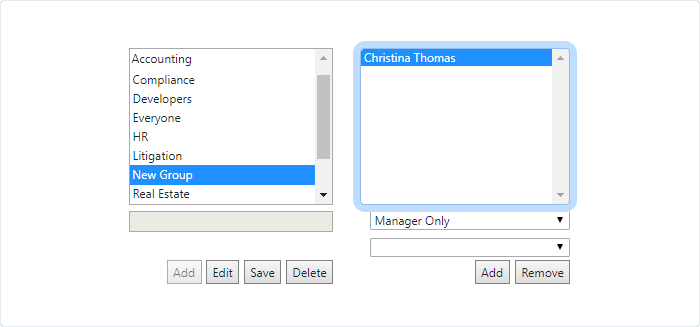
Add User to Group
-
Check the checkbox in the Member column of the Group.
-
Then, click Save.
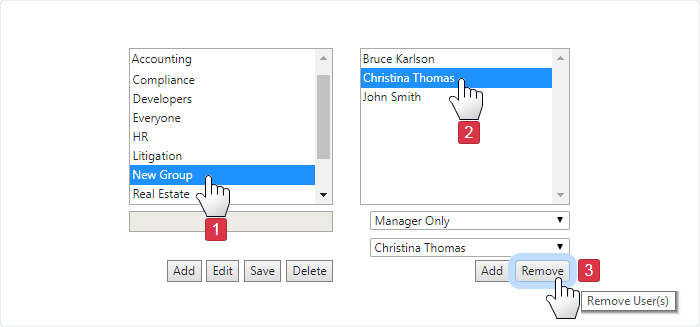
Remove User from Group
-
Uncheck the checkbox in the Member column of the Group
-
Then, click Save.
Group Rights are privileges a user within the Group has to View and Edit tasks for members of the Group.
| Group Right | Description |
|---|---|
| Member |
Can only view and edit items they are Owner of within a Group. |
| View All |
Can view all, but not edit, all items for members of the Group. |
| Admin |
Can view all and edit all items for members of the Group. |
Add View All Rights
To add View All Rights follow the Edit Users steps above (e.g., 1 through 4 above) and continue with the steps outlined below.
-
Check the View All checkbox in the View All column for the Group.
-
Then, click the Save button.
Add Admin Rights
To add Admin Rights follow the Edit Users steps above (e.g., 1 through 4 above) and continue with the steps outlined below.
-
Check the Admin checkbox in the Admin column for the Group.
-
Then, click the Save button.
Remove Rights
To remove Rights follow the Edit Users steps above (e.g., 1 through 4 above) and continue with the steps outlined below.
-
Uncheck the checkbox in the appropriate column for a Group.
-
Then, click the Save button.
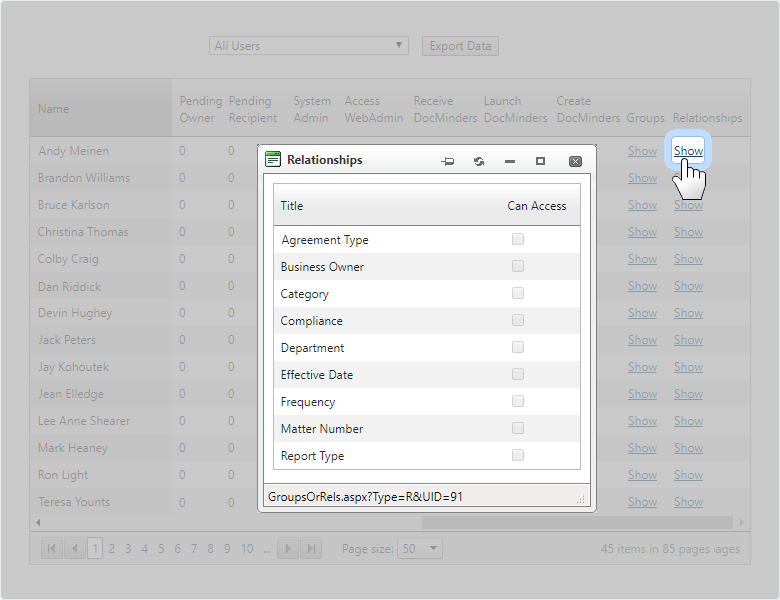
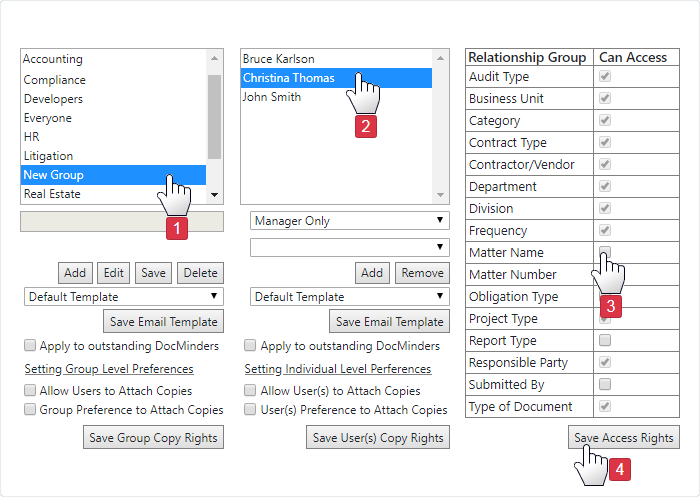
To edit a user's access to Relationships you will follow the Edit Users steps above (e.g., 1 through 4 above) and continue with the steps outlined below.
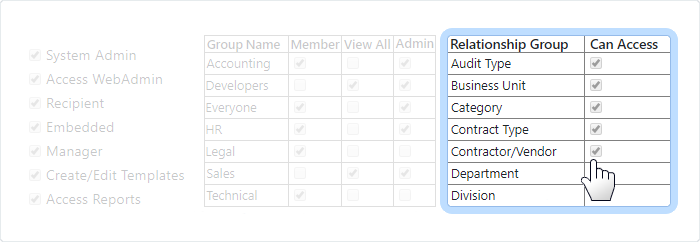
Add Relationship Access
-
Check the checkbox under the Can Access column.
-
Then, click the Save button.
Remove Relationship Access
-
Uncheck the checkbox under the Can Access column.
-
Then, click the Save button.

