System Admin users can maximize the benefits of the system by customizing the default settings of relevant or optional system setting parameters.
In order to access System Settings you must have System Admin rights enabled.
The Web Admin is accessible from your DocMinder® Homepage; from your Homepage, click on your profile and select Web Admin.
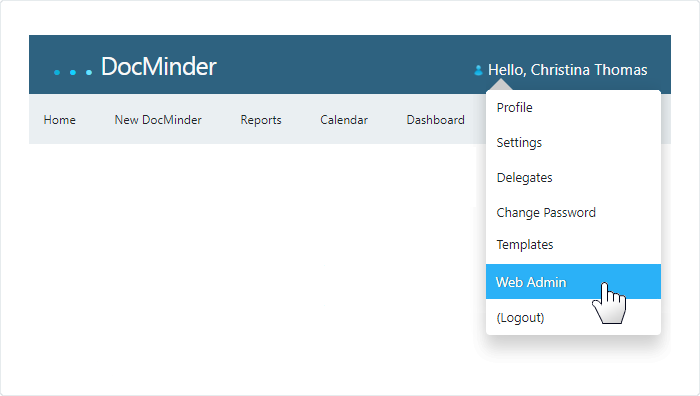
Then, from the Web Admin select System Settings from the Top-Navigation Bar.

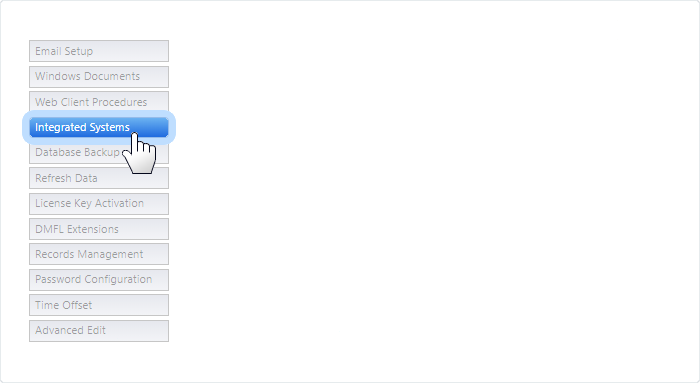
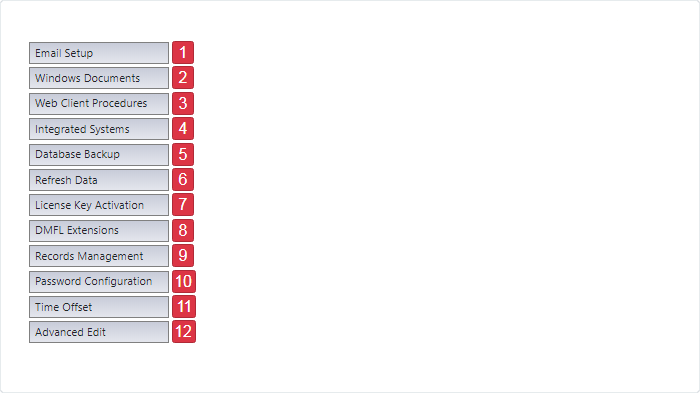
The System Settings page is divided into several sections allowing you to configure settings for email, integrated systems, password configuration and more.
| 1 |
Email Setup: allows you to configure the system to send notifications. |
|---|---|
| 2 |
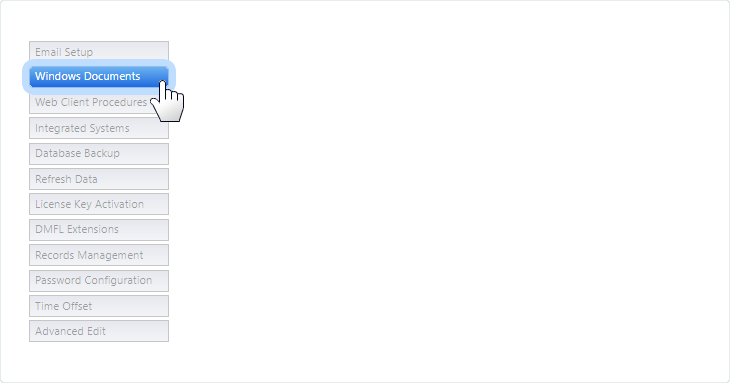
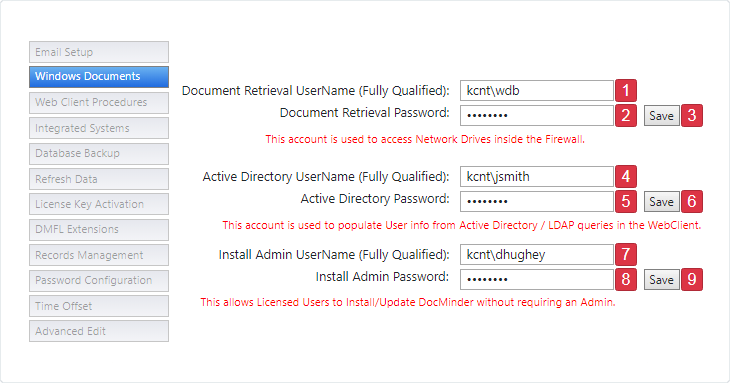
Windows Documents: access documents from shared source. |
| 3 |
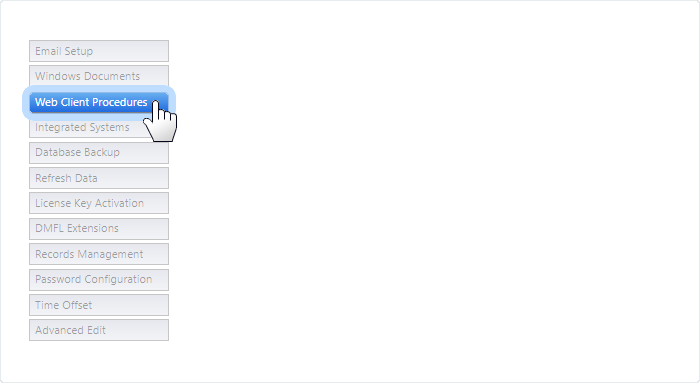
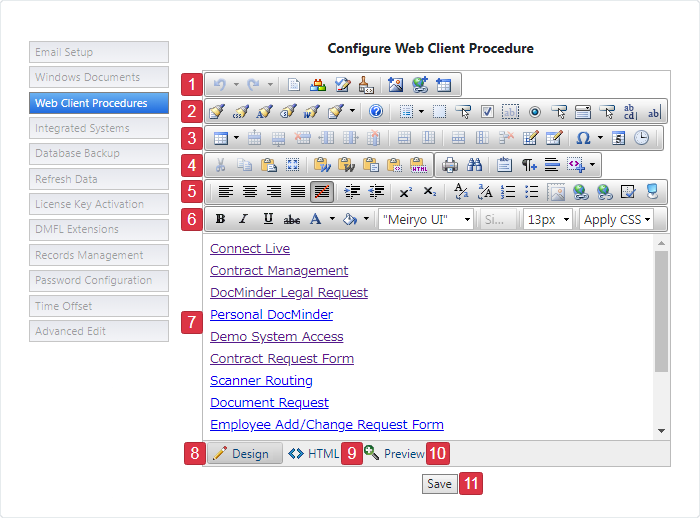
Web Client Procedures: web forms used to automate processes. |
| 4 |
Integrated Systems: configure connections to document repositories. |
| 5 |
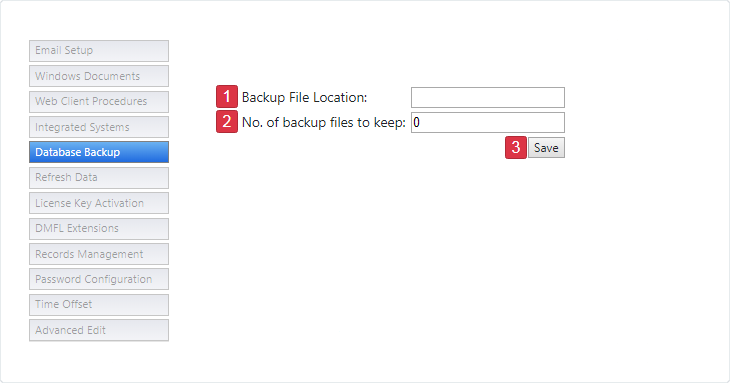
Database Backup: exclusively for SQL Express as it does not offer backup function. |
| 6 |
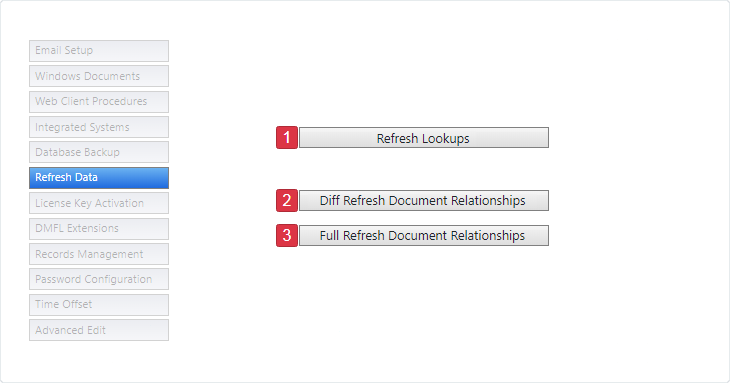
Refresh Data: refresh lookups and document relationships related to your data. |
| 7 |
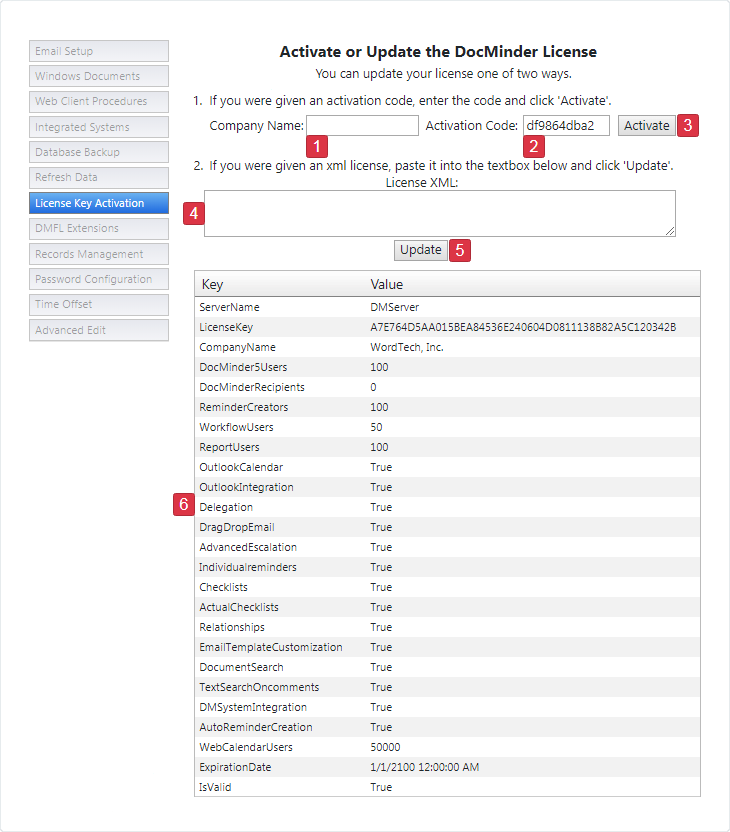
License Key Activation: update product licenses. |
| 8 |
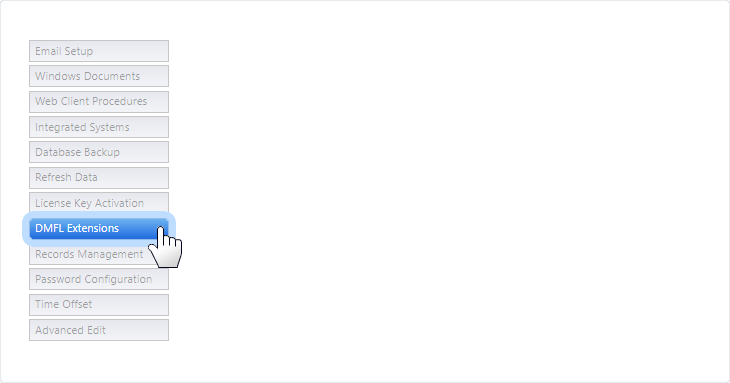
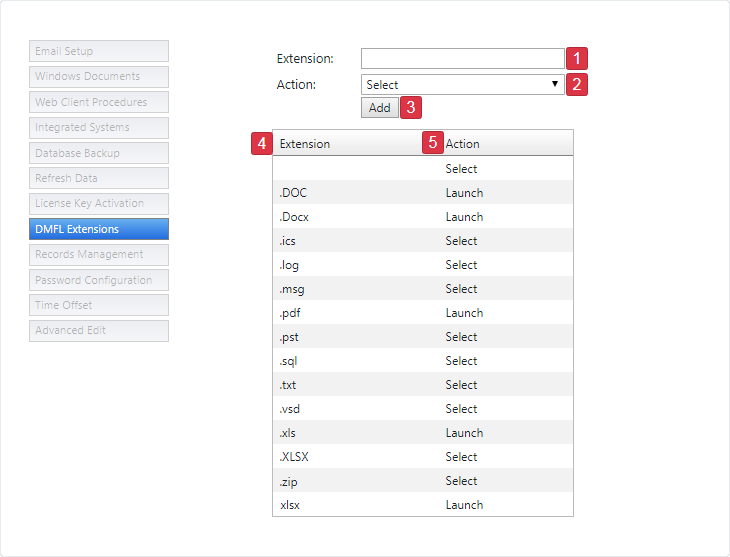
DMFL Extensions: launch or deny a type of file extension (e.g., .doc, .docx). |
| 9 |
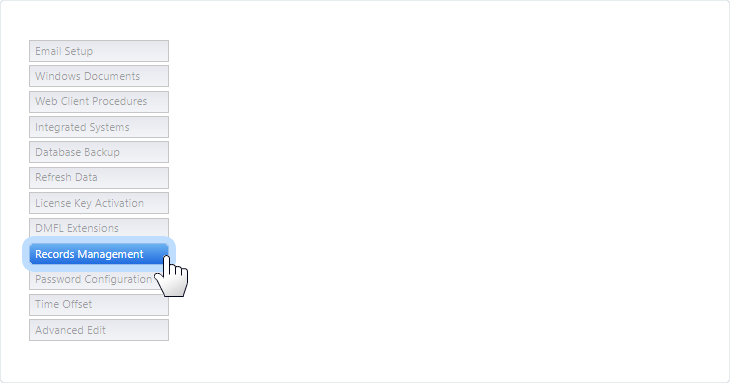
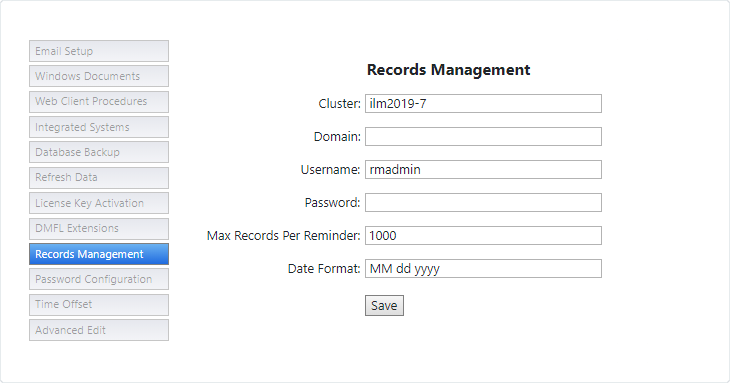
Records Management: manage expired or out-of-date content for disposition. |
| 10 |
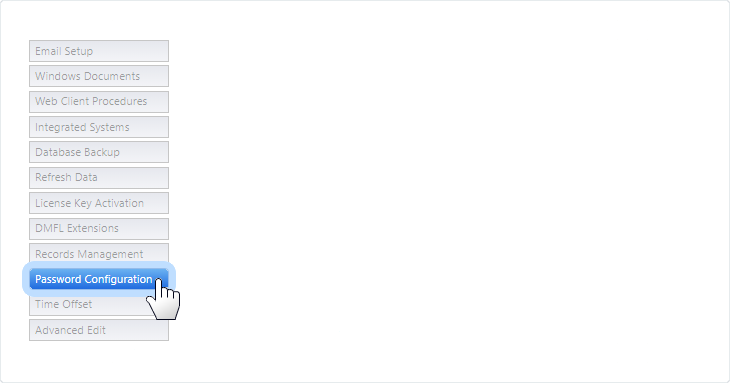
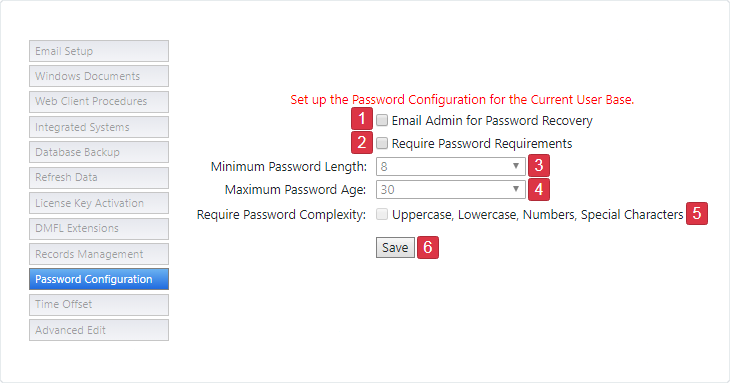
Password Configuration: define password configuration rules. |
| 11 |
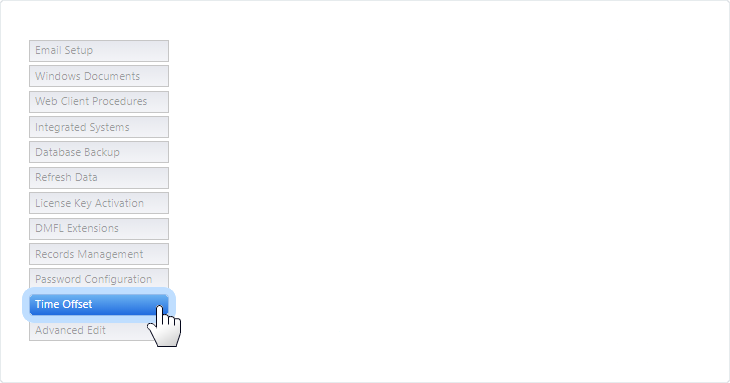
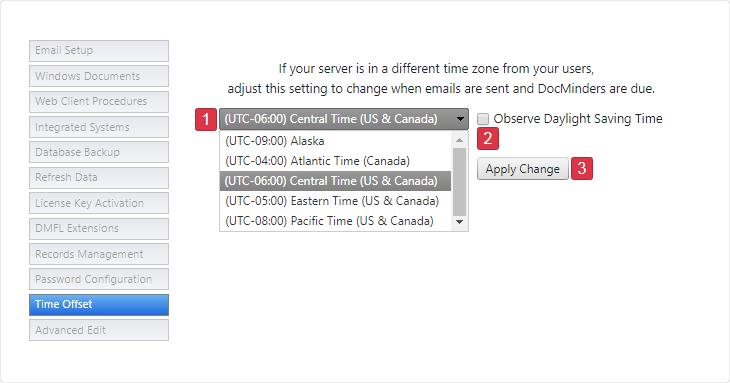
Time Offset: offset the delivery of notifications for a different time-zone. |
| 12 |
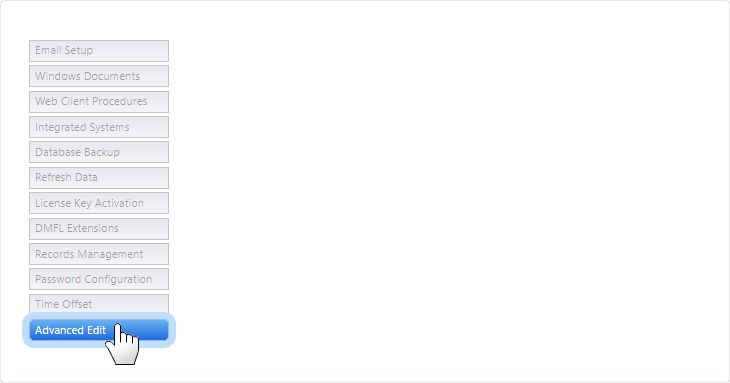
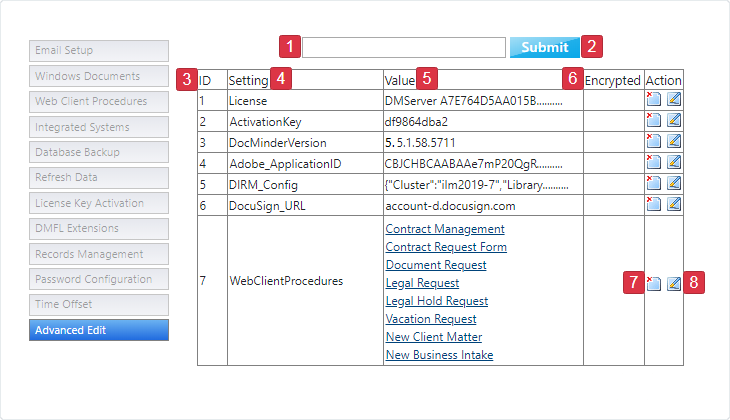
Advanced Edit: displays a complete list of system settings and values. |
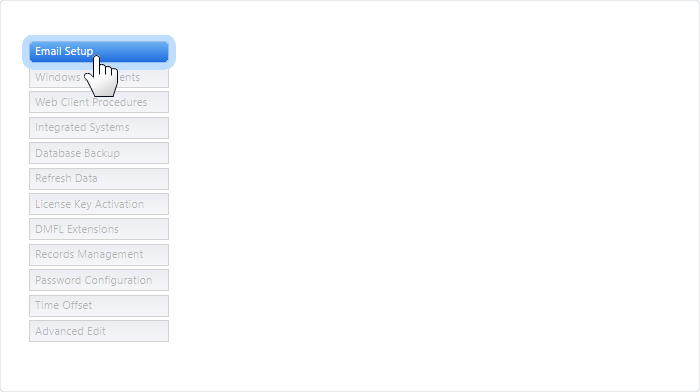
Email Setup allows you to configure the system to send task notifications; task completion and much more.
To access; click on Email Setup from the Left-Navigation Menu
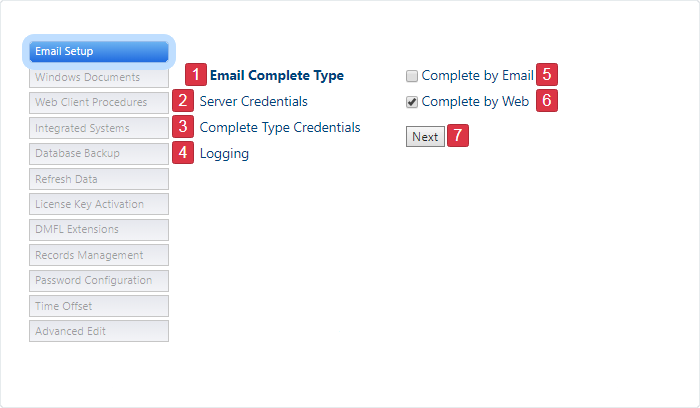
| 1 | Select an Email Complete Type complete tasks by email or web (e.g., progress page). |
|---|---|
| 2 | Enter Server Credentials to connect to resources outside of the Server. |
| 3 | Complete Type Credentials configure Server settings such as 'Type'; 'Location', etc. |
| 4 | Logging choose how the system stores and classifies task information. |
| 5 | Select Complete by Email to complete tasks via email. |
| 6 | Select Complete by Web to complete tasks via the Progress Page. |
| 7 | Click Next to proceed to the next section of the Email Setup. |
Email Complete Type allows you to configure how your want your organization's users to complete their assigned task(s).
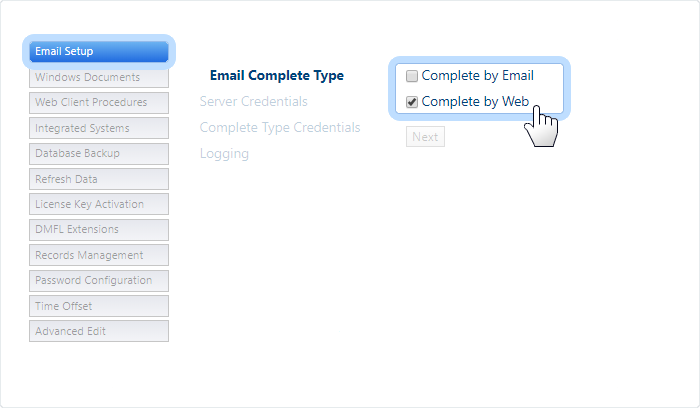
Check the Complete by Email box to complete tasks from an email notification.

How Complete by Email Works
With Complete by Email, users will reply to an email notification and type the words "Complete" and then hit "send" to complete their assigned tasks.
Check the Complete by Web box to complete tasks from the Progress Page.

How Complete by Web Works:
With Complete by Web, users click the "Post Progress" button from an email notification which opens task's progress page.
From the "Progress Page" users can add comments, upload documents and/or complete their assigned task.
Click Next to proceed to Server Credentials.
The Server Credentials section allows you to configure the system to send user's email notifications from your organization's email client.
A credential is a record that contains the authentication information (e.g., credentials) required to connect to a resource outside of the Server.
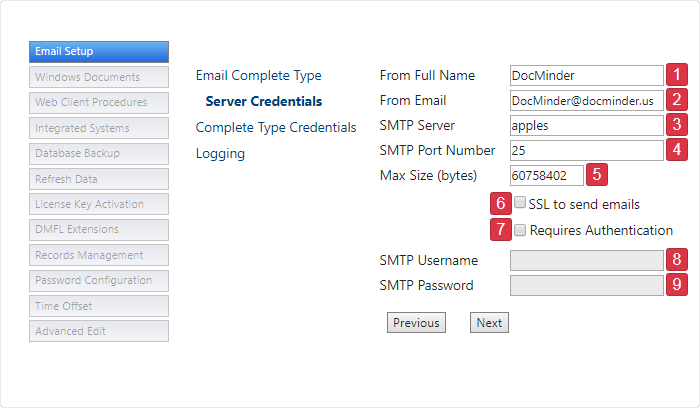
| 1 | Enter individual ‘OR’ sender of all email notifications in the From Full Name textbox. |
|---|---|
| 2 | Enter individual ‘OR’ sender’s email address in the the From Email textbox. |
| 3 | Enter the SMTP Server name (e.g., the server that sends email). |
| 4 | Enter the SMTP Port # your Server uses for email submission. |
| 5 | Max Size (bytes) of emails. 10MB is considered safe. (e.g., 10MB = 10485760) |
| 6 | Check the SSL to Send Emails box to connect the server (webmail/POP3) to send emails. |
| 7 | Check the Requires Authentication box to verify your certificate in your SMTP server |
| 8 | Enter the SMTP Username if the Requires Authentication box is checked. |
| 9 | Enter the SMTP Password if you entered the Username. |
Click Next to proceed to Complete Type Credentials.
The Complete Type Credentials section allows you to configure communication between DocMinder and your exchange mail server to locate and send email notifications.
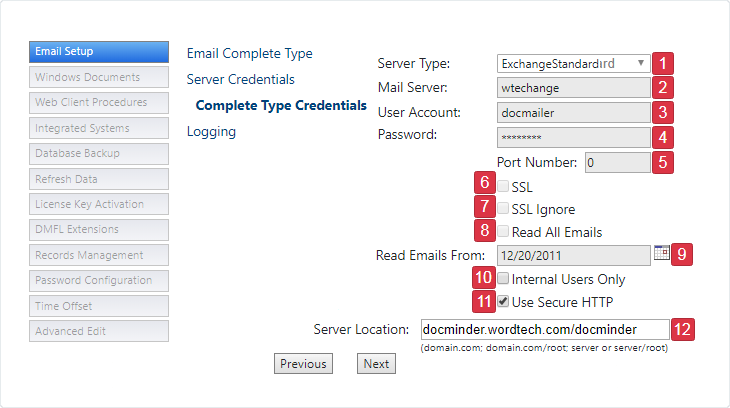
| 1 | Select the Server Type (e.g., ExchangeStandard, Generic for POP3) from the list. |
|---|---|
| 2 | Enter the name of your Mail Server. |
| 3 | Enter the User Account for ‘docmailer’. |
| 4 | Enter the Account Password for the ‘docmailer’ account. |
| 5 | Indicate the SMTP Port Number (0 if standard port). |
| 6 | Check the SSL box if site is secure (SSL is not used for Exchange Web Services). |
| 7 | Check the SSL Ignore box if certificate cannot be validated. |
| 8 | Check the Read All Emails box to enable DocMinder® to parse through the mailbox. |
| 9 | Enter the Read All Emails From date to start when DocMinder® will begin. |
| 10 | Check the Internal Users Only box to restrict outside access to the Progress Page. |
| 11 | Check the Use Secure HTTP box if you have a secure HTTP server location. |
| 12 | Enter Server Location into the textbox (e.g., URL to the Progress Page). |
Click Next to proceed to Logging.
Verbose Logging is a computer logging mode that records more information than the usual logging mode (e.g., verbose means "using more words than necessary".)
By default, DocMinder® uses a verbose logging option which can be helpful to gather more information or troubleshooting.
To disable Verbose Logging; uncheck the box.
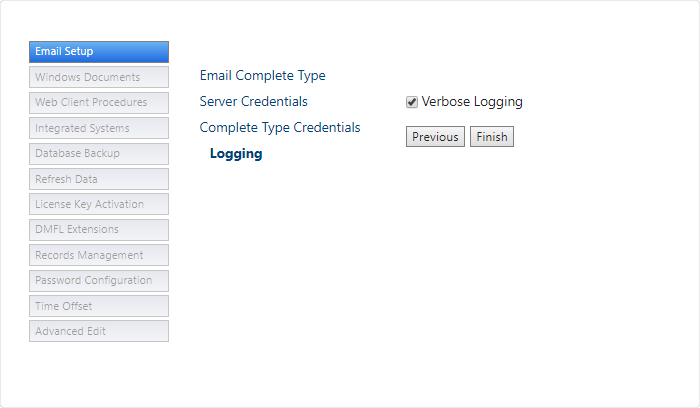
Click Finish to complete Email Setup.
