Version 5.X.X.
This guide describes the procedure of installing DocMinder® Server.
This guide is intended for System Administrators (e.g., the installer) responsible for database creation and software installation.
If you run into difficulties or have a question, you can email Technical support at support@wordtech.com, or contact us by phone at (913) 722-3334.
For information on using or administering the DocMinder® application, please refer to the documentation in the Knowledgebase.
The installation of DocMinder® consists of the following steps:
-
Install the DocMinder® Server.
-
Install DocMinder® Monitoring Service
-
Activate License Key
-
.NET Framework 4.72 required for all Server(s) and Workstation(s).
-
Web/File Server (existing server; does not require dedicated).
-
SQL Credentials (2008 or later)
-
Access to Document Management System or File Server with permissions.
-
Access to SQL/Email Server
-
SMTP Relay
-
IIS .NET 4.72 with ASP .NET v2.0X Web-Service Extensions enabled; anonymous authentication.
.NET Framework must be installed on the Server and user Workstation(s).
-
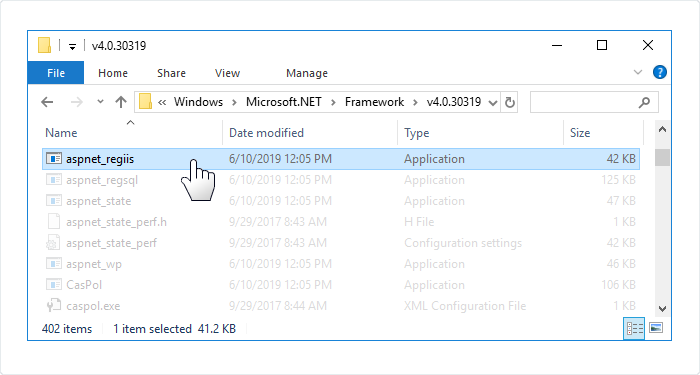
.Net Framework Extensions in IIS run: C:\Windows\Microsoft.NET\Framework\v4.0.30319\aspnet_regiis.exe
-
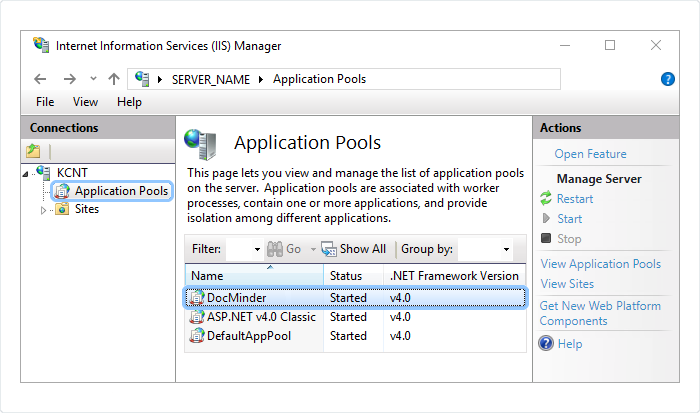
Open IIS Admin, and select the DocMinder AppPool
-
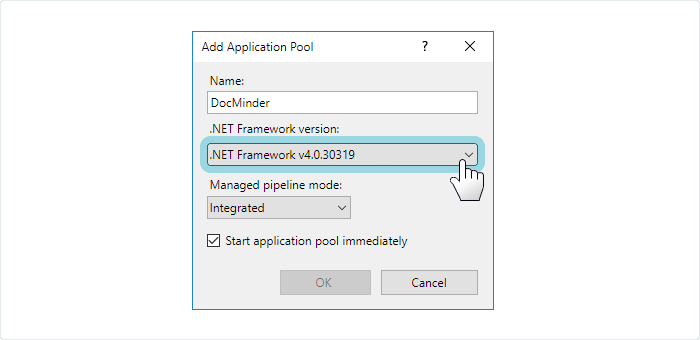
In the Basic Settings select .NET Framework
-
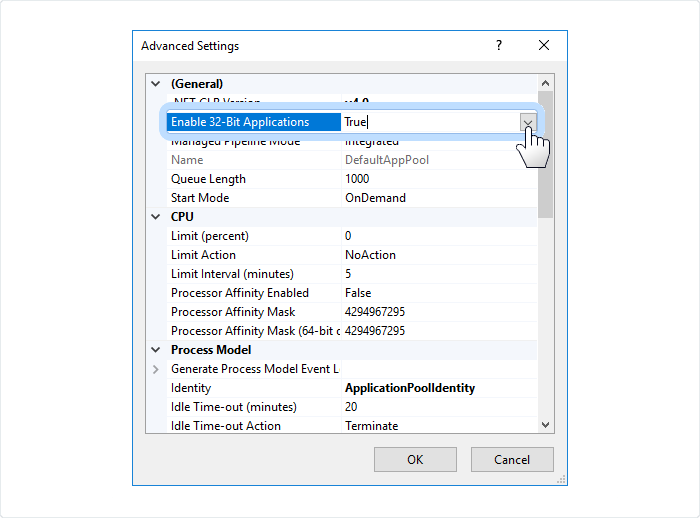
In the Advance Settings, set Enable 32 Bit Applications setting to True
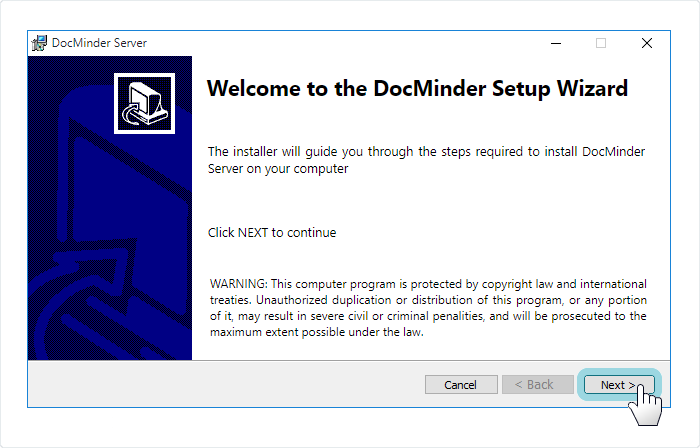
Run the DocMinder Server.msi file on the Server that will host the Web Services.
-
Click Next.
-
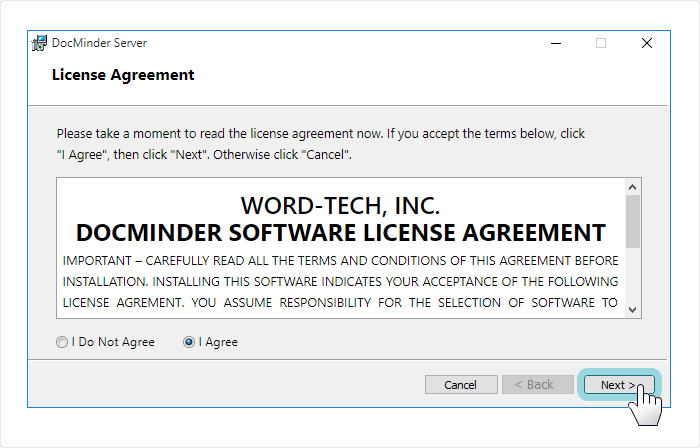
Select the I Agree radio-button and then click Next.
-
Select the Site URL and enter in the Virtual Directory;
-
Click Next.
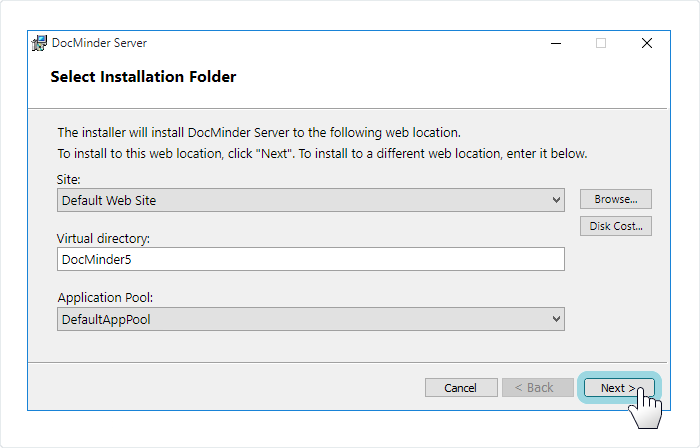
Select a separate Application Pool to prevent conflicts; and then click Next.
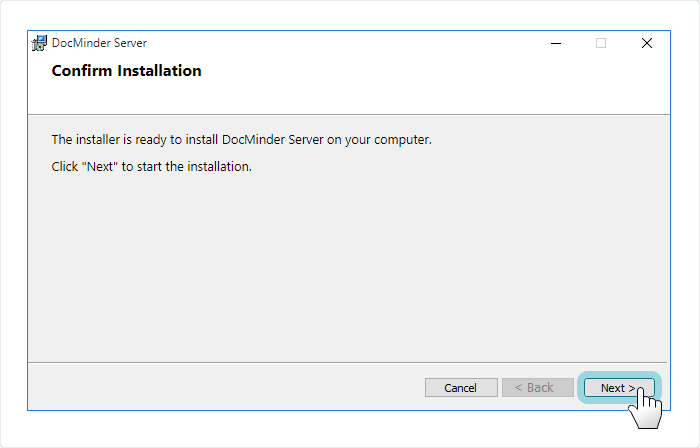
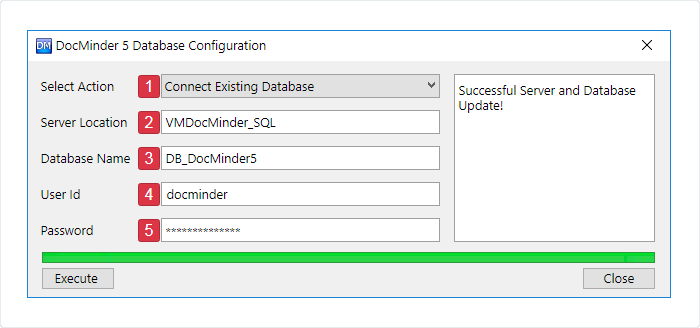
-
Choose Connect Existing Database from the Selection Action dropdown.
-
Enter the Server Location into the textbox provided.
-
Enter the Database Name into the textbox provided.
-
Enter the User ID into the textbox provided.
-
Enter the Password into the textbox provided.
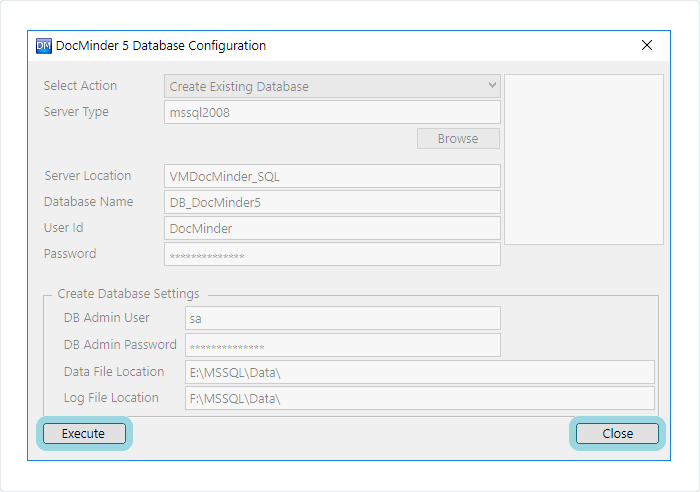
-
Click the Execute button.
-
Then, click Close to finish.
Installation Complete; click Close to finish.
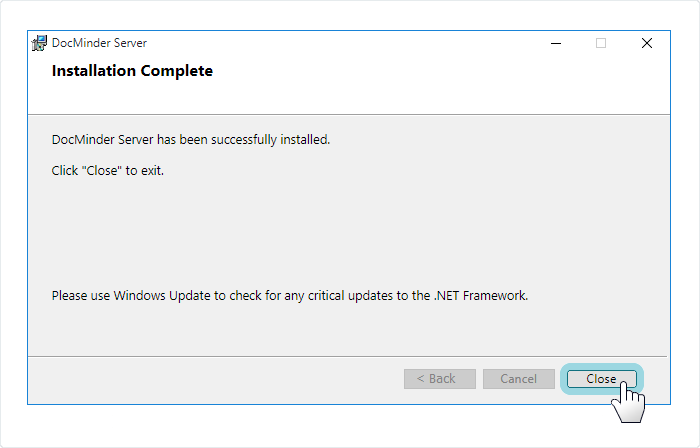
When the installation is complete; run the CommentUpdate.exe on the Server.
The Monitoring Service is installed on the same server DocMinder® was installed.
Run the DocMinder_Monitoring_Service.msi executable file.
-
Click Next
-
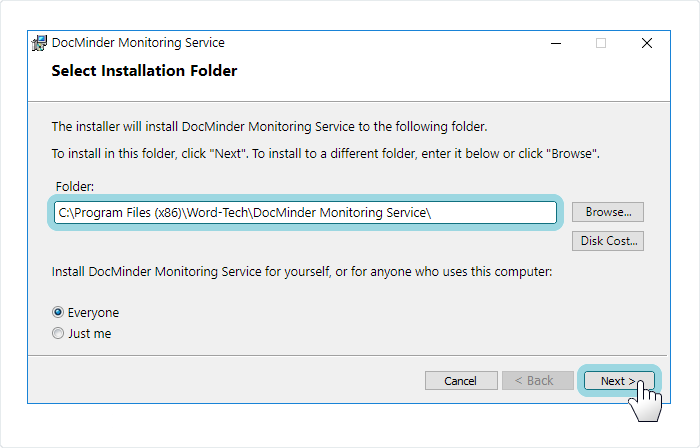
Select the Installation Folder and then click Next
-
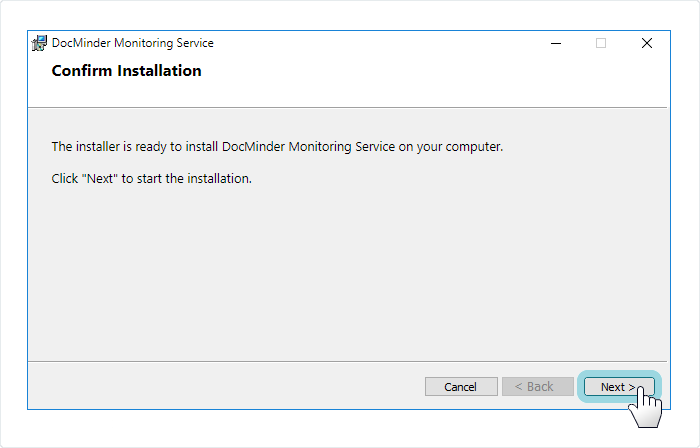
Click Next.
-
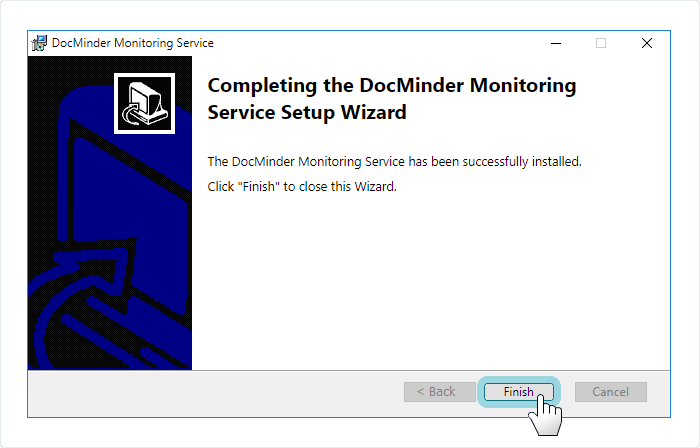
Click Finish to close the installer wizard.
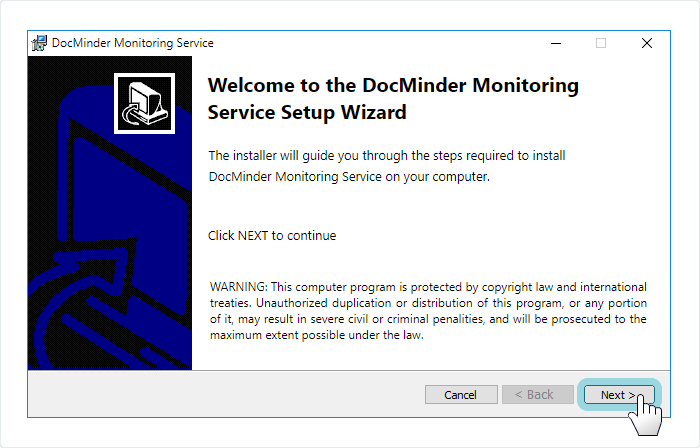
Before starting the service; you must setup email configuration and defaults in the Web Admin. The new service includes encryption for passwords and will require all passwords to be updated.
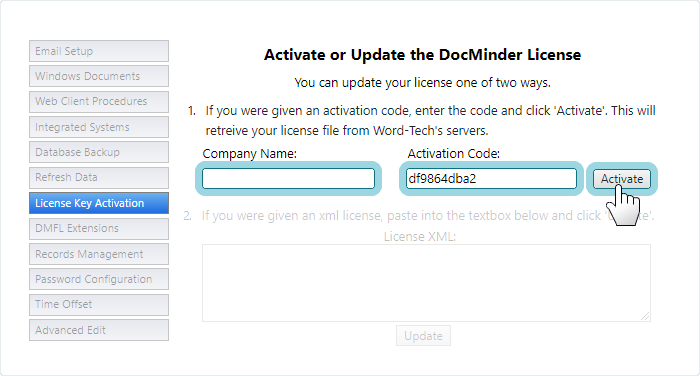
All licensing is accomplished from the Web Admin >> License Key Activation page.
To activate your License Key; follow the procedure listed below:
In order to access the Web Admin you must have Web Admin rights enabled.
-
Launch the Web Admin and click on System Settings from the Top-Navigation bar.
-
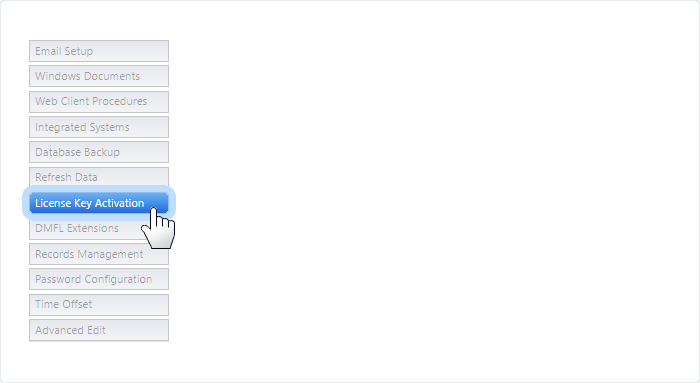
Then click on License Key Activation from the Left-Navigation menu.
-
Enter your Company Name, the Activation Code, and then click Activate.

NOTE: If the Server cannot access the internet, please email support@wordtech.com and an XML file will be provided to activate all user licenses and/or features.